Installing security cameras yourself isn’t rocket science, but it does require planning, patience, and the right approach. Whether someone’s worried about package thieves or just wants to keep an eye on the front porch, a well-placed camera system provides peace of mind without the hefty professional installation fees. This guide walks through everything needed to mount, wire, and configure cameras like a pro, from choosing the right hardware to optimizing placement for maximum coverage. No fluff, just practical steps that work.
Table of Contents
ToggleKey Takeaways
- Security camera installation at home is achievable without professional fees by planning mounting locations, choosing the right hardware (wired PoE or wireless), and following proven installation steps from cable routing to final configuration.
- Visible security cameras reduce break-in attempts by up to 60%, with optimal placement at entry points like front doors, back doors, and garage doors, positioned 8-10 feet high and angled downward to capture faces rather than just hats.
- For security camera installation, essential tools include a drill with masonry bits, stud finder, cable tester, level, and ladder rated for the installation height, plus materials like Cat6 cable, mounting brackets, weatherproof junction boxes, and exterior silicone sealant.
- PoE (Power over Ethernet) systems offer reliable connections without battery swaps, while wireless cameras simplify mounting but require strong Wi-Fi signals and regular recharging or solar panels.
- Avoid common placement mistakes like backlighting (sun in camera’s view), mounting too high (above 10 feet), and obstructing vegetation that blocks the camera’s field of view.
- Review and test your system quarterly to ensure cameras maintain coverage, as settling foundations and wind can shift camera angles and create unexpected blind spots.
Why Install Security Cameras at Your Home
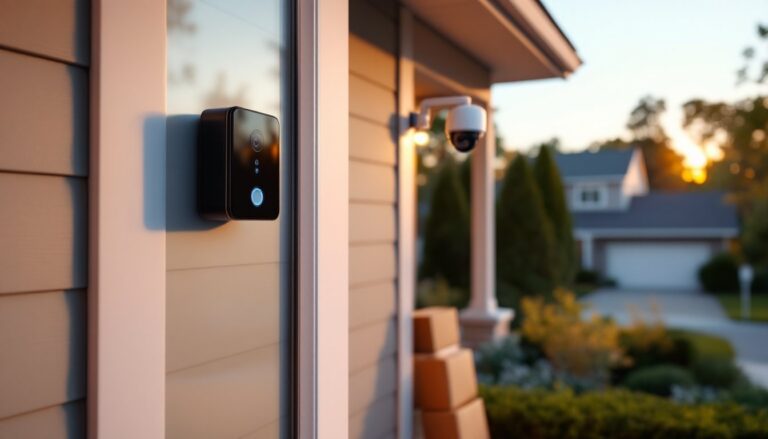
Security cameras serve multiple purposes beyond catching criminals. They deter opportunistic thieves, help verify insurance claims after incidents, and let homeowners monitor deliveries, pets, or kids getting home from school. Modern systems integrate with smartphones, sending real-time alerts when motion is detected.
Visible cameras alone reduce break-in attempts by up to 60%, according to studies on residential security. Even fake cameras work to some extent, but functional systems provide actual evidence that law enforcement can use. For properties with outbuildings, side gates, or blind spots, cameras fill gaps that neighbors and streetlights can’t.
Beyond security, cameras document events like disputes with contractors, delivery mishaps, or vehicle damage. The footage becomes invaluable for small claims or HOA issues. Many comprehensive security systems now bundle cameras with sensors and alarms, but standalone camera installations remain popular for targeted coverage.
Choosing the Right Security Cameras for Your Property
Camera selection depends on coverage area, power availability, and network infrastructure. Wired cameras (PoE or Power over Ethernet) offer reliable connections and don’t require battery swaps, but installation involves running Cat5e or Cat6 cable through walls or soffits. Wireless cameras simplify installation but depend on strong Wi-Fi signals and regular recharging or solar panels.
For outdoor use, look for cameras rated IP65 or higher for weather resistance. Resolution matters, 1080p is minimum for identifying faces at 10-15 feet, while 4K cameras capture license plates and distant details. Night vision range varies: infrared LEDs typically cover 30-100 feet depending on the model.
Field of view determines how much area one camera covers. Wide-angle lenses (110-130 degrees) monitor large yards or driveways, while narrow lenses (60-80 degrees) focus on doorways or gates. Pan-tilt-zoom (PTZ) cameras offer flexibility but cost more and require additional setup.
Storage options include local DVR/NVR systems (stores footage on-site, no monthly fees) or cloud subscriptions (accessible anywhere but recurring costs). Hybrid systems offer both. For detailed comparisons of camera features and performance, Digital Trends regularly publishes updated reviews of the latest models. Budget $50-$150 per camera for decent consumer-grade hardware: professional-grade units run $200-$500 each.
Essential Tools and Materials You’ll Need
Tools:
- Drill/driver with masonry and wood bits (for siding, brick, or stucco)
- Ladder rated for the installation height (minimum Type II, 225 lb capacity)
- Stud finder (essential for finding solid mounting points)
- Fish tape or pull rod (for running cables through walls)
- Cable tester (for PoE installs to verify connections)
- Level (magnetic torpedo level works well for camera alignment)
- Wire strippers and crimpers (if terminating Ethernet cables)
- Voltage tester (if tapping into existing electrical)
- Caulk gun and exterior-grade silicone sealant
Materials:
- Security cameras (quantity based on coverage plan)
- Mounting brackets (often included, but aftermarket options offer better adjustability)
- Cat6 Ethernet cable (for PoE systems: buy 10-20% extra for routing)
- PoE switch or injector (if cameras don’t come with one)
- Cable staples or conduit (for protecting exposed wiring)
- Weatherproof junction boxes (for outdoor cable connections)
- Outdoor-rated power adapters (for wireless cameras near outlets)
- Cable glands or grommets (for sealing entry points)
- Anchors appropriate to mounting surface (plastic anchors for wood, tapcon screws for masonry)
Safety Gear:
- Safety glasses (drilling overhead creates debris)
- Work gloves (sharp edges on siding and metal brackets)
- Dust mask (for drilling brick or concrete)
Have a second person available for ladder work and for feeding cables through walls. Trying to solo a 12-foot ladder while holding a camera and drill is how people end up in the ER.
Step-by-Step Installation Process
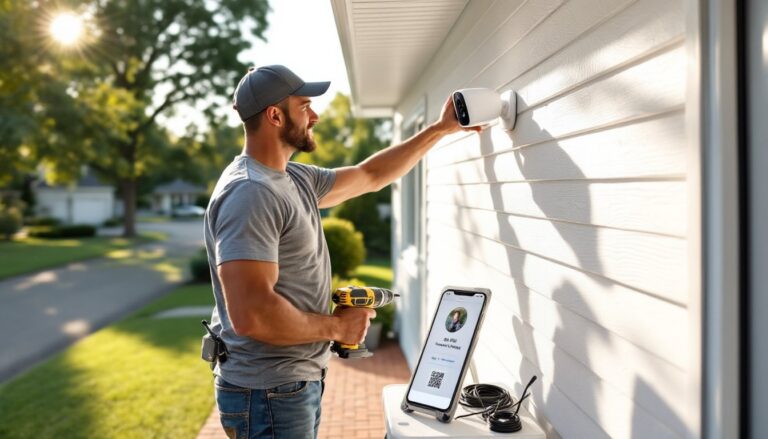
Mounting Your Cameras
1. Plan mounting locations. Walk the perimeter and identify coverage zones. Mark spots on soffits, eaves, or walls at least 8-10 feet high to prevent tampering. Use the camera’s app (if available) to preview the field of view before drilling.
2. Locate solid backing. Tap or use a stud finder to locate rafters, studs, or blocking behind siding. Mounting to hollow siding or thin trim won’t support the camera’s weight, especially in wind.
3. Drill pilot holes. For wood or composite, use a 1/8-inch bit. For brick or stucco, use a masonry bit sized for the anchors (typically 3/16-inch for plastic anchors, 5/32-inch for tapcons). Drill slightly deeper than the anchor length.
4. Install anchors and mount bracket. Insert anchors flush with the surface. Attach the mounting bracket with the provided screws, checking alignment with a level. Most cameras allow pan/tilt adjustment after mounting, but starting level simplifies setup.
5. Route cable before final mounting. Thread the cable through the bracket and leave 6-12 inches of slack coiled behind the mount. This prevents stress on connectors and allows camera removal for maintenance.
6. Attach camera and aim. Secure the camera to the bracket, finger-tight at first. Power it on (temporarily, if needed) to check the view via the app or monitor, then tighten all adjustment screws.
7. Seal entry points. Apply a bead of exterior silicone caulk around cable entries, mounting holes, and any gaps where water could infiltrate. Don’t rely on rubber gaskets alone, they compress over time.
Connecting Power and Network
PoE (Power over Ethernet) Systems:
1. Run Cat6 cable from each camera to the PoE switch or NVR. Use exterior-rated cable (direct burial or UV-resistant jacket) for outdoor runs. Secure cables with staples every 12-18 inches on wood: use conduit for exposed masonry runs.
2. Terminate cables. If the camera has a pigtail connector, use a weatherproof junction box to join the camera cable to the home run. If terminating your own connectors, follow T568B wiring standard and test each cable with a tester before connecting cameras.
3. Connect to PoE switch. Plug camera cables into the PoE switch, which provides both data and power (typically 15.4W per port for standard 802.3af PoE). The switch connects to the router via one Ethernet cable.
4. Verify power and connection. Cameras should power on within 30-60 seconds. Check the switch for link lights indicating a successful connection. Access the camera via its IP address or manufacturer app to confirm video feed.
Wireless Camera Systems:
1. Charge or power the camera. Battery-powered units need a full charge before mounting. Plug-in models require an outdoor-rated outlet or weatherproof extension cord rated for outdoor use.
2. Connect to Wi-Fi during setup. Follow the manufacturer’s pairing process, typically involving a QR code scan or Bluetooth connection. Cameras need a strong signal, if Wi-Fi bars drop below 3 in the camera app, consider a Wi-Fi extender rated for outdoor use.
3. Mount and test. After mounting, verify the camera maintains connection and sends alerts. Walk the perimeter to trigger motion detection and confirm notifications arrive promptly.
4. Cable management for powered wireless cameras. If running power cable along siding, use cable clips or PVC conduit to protect against UV damage and lawn equipment. Staple indoor cables along baseboards or behind crown molding.
For larger systems involving multiple cameras and integrated door security, professional guidance from platforms like Angi can help estimate costs and find licensed installers if the project scope expands.
Optimizing Camera Placement for Maximum Coverage
Strategic placement eliminates blind spots and maximizes deterrent effect. Position cameras to monitor entry points first: front door, back door, garage doors, and ground-floor windows. Angle cameras downward at 15-30 degrees to capture faces rather than the tops of heads.
Avoid common mistakes:
- Backlighting: Don’t aim cameras toward sunrise/sunset. Glare washes out faces. Position cameras so the sun is behind the lens.
- Too high: Mounting above 10 feet captures hats and hoodies, not faces.
- Obstructions: Tree branches, porch posts, and hanging plants block views. Trim vegetation quarterly.
- Wi-Fi dead zones: Test signal strength before mounting wireless cameras. Metal siding and brick walls kill signals.
For driveways, mount cameras at the garage to capture license plates as vehicles approach. Angle one camera toward the street for context and another toward the house to catch faces as people exit vehicles. When planning camera coverage strategies, overlap fields of view by 10-20% so one camera’s edge is visible in the adjacent camera’s frame.
Side gates and alleys are common entry points burglars use to access backyards unnoticed. Install cameras with motion-activated lights to illuminate these zones at night. Pairing cameras with broader home security technology creates layered protection that’s harder to bypass.
For detailed product reviews and buying guides, Tom’s Guide offers comprehensive comparisons of current camera models and system configurations.
Adjust motion detection zones in the camera software to exclude streets, sidewalks, and tree branches that trigger false alerts. Most systems allow drawing custom zones, reducing notification fatigue while maintaining coverage of critical areas. Test the system by having someone approach from different angles, especially at night when IR illumination changes the effective field of view.
Review footage quarterly to verify cameras still cover intended areas. Settling foundations, wind, and minor impacts shift camera angles over time. A five-minute check prevents discovering a blind spot after an incident.