Most homeowners drop several hundred dollars on security cameras, then stick them wherever there’s an outlet. That’s like buying a deadbolt and installing it three feet off the ground, technically functional, but missing the point entirely. Strategic camera placement isn’t about covering every square inch of your property. It’s about controlling sight lines, eliminating blind spots, and capturing usable footage when something actually happens. This guide walks through the proven placement strategies that security professionals use, along with the common mistakes that turn expensive cameras into decorative fixtures.
Table of Contents
ToggleKey Takeaways
- Strategic security camera placement focuses on controlling sight lines, eliminating blind spots, and capturing usable footage—more important than buying expensive 4K cameras.
- Mount front-door cameras 4-6 feet high, angled downward 15-30 degrees with an 80-110 degree field of view for optimal facial identification and deterrence.
- Backyards, side gates, and garage areas require separate coverage at 8-10 feet height to prevent tampering and capture footage of the most common entry points burglars use.
- Avoid common mistakes like mounting cameras too high (12+ feet), pointing them directly at sunlight, ignoring WiFi range, and creating blind spots between coverage zones.
- Indoor cameras should monitor primary pathways, staircases, and entry points without recording private spaces, and household members must be informed about their presence for legal and privacy compliance.
- Test camera angles using live feeds before final installation, and prioritize IP65+ weatherproofing with mounting under soffits or eaves to extend lifespan and protect against tampering.
Why Strategic Camera Placement Matters More Than Camera Quality
A $400 4K camera pointed at the wrong angle captures beautiful footage of nothing useful. Meanwhile, a $150 1080p camera positioned correctly gets a clear shot of faces, license plates, and entry attempts.
The difference comes down to field of view and coverage zones. Security cameras don’t just record, they deter, document, and provide actionable evidence. But only if they’re placed where intruders actually move.
Most break-ins follow predictable patterns. According to research on common security vulnerabilities, burglars scope properties first, looking for blind spots and unmonitored access points. They’ll test a back door before the front, check side gates, and look for cameras that are poorly angled or easily disabled.
Proper placement addresses three goals: deterrence (visible cameras make targets less appealing), identification (clear facial or vehicle details), and documentation (timestamped proof of events). A camera that accomplishes only one of these is half-doing its job.
Another factor: lighting conditions. A camera aimed directly at the sun or a streetlight will backlight subjects into silhouettes. Cameras need to work with existing light sources, not fight them. That means considering morning and evening sun angles, porch lights, and nearby streetlamps when choosing mounting locations.
Essential Locations for Security Camera Coverage
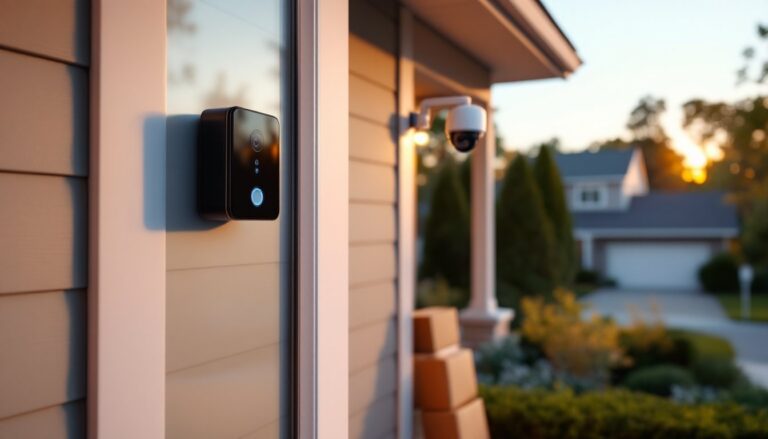
Front Door and Main Entry Points
The front door accounts for roughly 34% of break-ins, making it the single most important camera location. But “pointing at the door” isn’t specific enough.
Mount the camera 4 to 6 feet above the door, angled downward at 15 to 30 degrees. This captures faces at a near-perpendicular angle, which is critical for identification. Too high (8+ feet), and you’ll record the tops of heads and hats. Too low, and the camera becomes an easy target for tampering.
Use a camera with a field of view between 80 and 110 degrees for entry monitoring. Wider than that, and facial features start to distort at the edges. Narrower, and you’ll miss someone approaching from the side.
If your entry has a covered porch or overhang, mount the camera on the underside of the soffit, tucked near the house rather than at the edge. This protects it from weather and makes it harder to disable without a ladder.
For homes with side-by-side front doors or dual entry points, a single wide-angle camera often leaves one door in soft focus. Use two cameras instead, each dedicated to one door, or position one camera to cover the approach path (driveway or walkway) rather than the door itself.
Don’t forget the doorbell perspective. Video doorbells are useful, but they mount at chest height and are easy to obscure with a hand, package, or clipboard. A secondary overhead camera ensures you always have clean footage.
Backyard, Side Gates, and Garage Areas
Backyards and side access points are where most burglars actually enter after scoping the front. Fences, sheds, and landscaping create natural blind spots, exactly where you need coverage.
For side gates, mount a camera on the house exterior (not the fence) aimed down the length of the gate path. This captures anyone approaching or leaving. If your gate latch is visible from the street, a camera with motion-activated recording can catch someone testing it.
Garage doors are high-value targets. Position a camera to cover both the door itself and the driveway approach. If you have a detached garage, mount a camera on the house aimed at the garage entry, and another on the garage aimed back toward the house. This creates overlapping coverage that’s harder to avoid.
Backyard cameras should cover patio doors, basement windows, and any ground-floor access. Mount these at eave height (8 to 10 feet) to prevent tampering. Use cameras with infrared night vision rated for at least 30 feet, since backyards often lack ambient lighting.
If you have a pool, shed, or outdoor equipment storage, add a camera aimed at those areas. Theft of grills, bikes, and tools is common, and most homeowners don’t realize it happened until days later when footage has already been overwritten.
One often-missed spot: the space between your house and your neighbor’s fence. Narrow side yards are perfect hiding spots, and many homeowners leave them completely unmonitored. A small bullet-style camera tucked under the eave covers this gap without needing a wide field of view.
Optimal Height and Angle for Maximum Effectiveness
Height and angle determine whether your camera records usable footage or just proves something happened.
For identification (faces, clothing, features): Mount cameras 6 to 7 feet high, angled down 10 to 20 degrees. This captures subjects at eye level or slightly above, which is ideal for facial recognition software and human identification.
For wide-area monitoring (driveways, yards, perimeters): Mount cameras 8 to 10 feet high, angled down 20 to 30 degrees. This reduces blind spots and keeps the camera out of easy reach, but trades some facial detail for broader coverage.
For deterrence: Mount cameras in highly visible locations at 7 to 9 feet. The goal here isn’t just to record, but to be seen. A visible camera at this height signals that the property is monitored without being so high that it looks like a dummy unit.
Angle matters as much as height. A camera aimed straight out (parallel to the ground) will record mostly sky and ground, with subjects passing through only a narrow band of useful footage. Tilt the camera down so that the bottom third of the frame shows ground and the top two-thirds show the monitored area.
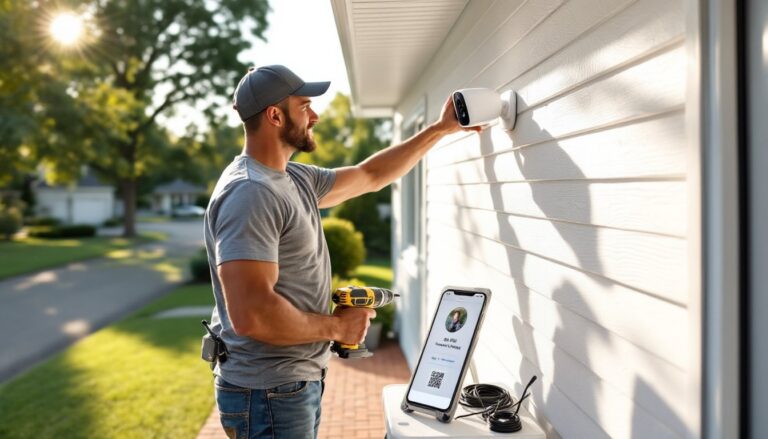
Test your angles before drilling final mounting holes. Most cameras let you view a live feed during setup, walk through the camera’s field of view at different distances and heights to confirm you’re getting clear shots. If you’re installing wired cameras and running conduit, this step saves a lot of rework.
For cameras monitoring driveways or long approaches, angle them to capture vehicles head-on or at a 45-degree angle. Side views of moving cars often blur license plates, especially at night.
Avoid aiming cameras at reflective surfaces like windows, glass doors, or glossy siding. Infrared night vision will bounce back and wash out the image. If you must monitor through glass, disable IR and rely on ambient light, or reposition the camera entirely.
Common Security Camera Placement Mistakes to Avoid
Even experienced DIYers make predictable mistakes that gut a camera’s effectiveness.
Mounting too high. Cameras installed at roofline or gable height (12+ feet) are great for wide overviews but terrible for identification. You’ll record events, but not faces. If deterrence is your only goal, fine. But if you want footage the police can actually use, keep identification cameras under 8 feet.
Ignoring Wi-Fi range. Wireless cameras need a strong, consistent signal. Mounting a camera at the far corner of your property, two walls and 60 feet from your router, results in dropped connections and missing footage. Run an outdoor-rated ethernet cable (Cat5e or Cat6), install a mesh network node nearby, or use a camera with a dedicated base station.
Pointing cameras at the sun. East-facing cameras get blasted by morning sun, west-facing ones by evening sun. This causes backlit silhouettes during peak entry times (early morning and late afternoon). Whenever possible, aim cameras north or south, or position them under eaves where the roof provides shade.
Forgetting about weatherproofing. Not all “outdoor” cameras are created equal. Check the IP rating, IP65 is the minimum for exposed locations (dust-tight and protected from water jets), but IP66 or IP67 is better for areas with heavy rain or snow. Even weather-resistant cameras should be mounted under soffits or eaves when possible to extend their lifespan.
Overlooking power sources. Battery-powered cameras are convenient until the battery dies at 2 a.m. on a Tuesday. If you’re using battery cams, set calendar reminders to check charge levels monthly, or route low-voltage wiring to hardwire them. For wired cameras, ensure outlets are GFCI-protected if they’re outdoors or in damp areas, this is code in most jurisdictions.
Creating obvious blind spots. Multiple cameras should have overlapping fields of view, not gaps. Walk your property and note sight lines from each camera position. If there’s a path someone could take without being recorded, that’s your vulnerability.
Indoor Camera Positioning for Complete Home Protection
Indoor cameras serve a different purpose than outdoor ones, they’re less about deterrence and more about documentation and secondary verification.
Place indoor cameras to monitor primary pathways and high-value areas, not private spaces like bedrooms and bathrooms (which also raises privacy and legal concerns). Common spots include main hallways, staircases, living rooms with exterior doors, and rooms with expensive equipment (home offices, workshops).
For main hallways, mount cameras at one end aimed down the length of the hall. This captures anyone moving between rooms and creates a visual timeline of movement through the house.
Stairways are natural choke points. A camera at the top or bottom of the stairs (angled to show faces, not just the tops of heads) records everyone who moves between floors.
If you’re installing modern home monitoring systems, consider cameras with two-way audio. These let you communicate with family members, delivery personnel, or, if needed, alert an intruder that they’re being recorded and police are en route.
For homes with children or elderly family members, cameras in common areas provide a safety check without being intrusive. Position them in living rooms or kitchens where you can visually confirm everyone’s okay, especially if you’re away.
Avoid placing cameras where they record screens (TVs, computer monitors, tablets). This creates privacy risks and clutters footage with irrelevant visual noise. Instead, focus on entry and exit points within each room.
Many homeowners add indoor cameras as part of a broader residential security setup that includes door/window sensors and smart locks. When integrated, these systems provide layered security: sensors detect entry, cameras verify and record, and smart locks let you remotely secure the home if needed.
One often-missed use case: garage interiors. If your garage connects to your house, it’s a common entry point. A camera inside the garage aimed at the interior door and any windows provides an early warning if someone bypasses your outdoor cameras.
Finally, let household members and frequent guests know about indoor cameras. Many states require two-party consent for audio recording, and even video-only recording can create legal or personal friction if people don’t know they’re being monitored. A simple heads-up avoids awkward conversations and potential legal issues.