AT&T’s home security platform has evolved significantly from its Digital Life roots, offering homeowners a middle-ground option between budget DIY systems and premium monitored services. If you’re weighing whether AT&T’s current offerings fit your property’s needs, you’ll want to understand how their equipment stacks up, what installation actually involves, and where their pricing lands compared to competitors. This guide breaks down the system’s capabilities, integration options, and real-world considerations for residential security in 2026, no fluff, just the details that matter when you’re protecting your home.
Table of Contents
ToggleKey Takeaways
- AT&T home security systems use a cellular-based network with 30-45 second response times, eliminating the vulnerability of landline-dependent systems if internet or power fails.
- An AT&T home security setup costs $200-$800 for equipment plus $30-$70 monthly monitoring, positioning it as a middle-ground between budget DIY systems and premium monitored services.
- Z-Wave compatibility enables broad smart home integration with hundreds of third-party devices like smart locks, thermostats, and lighting without vendor lock-in.
- Professional installation runs $100-$200 but ensures optimal sensor placement and signal strength, while DIY installation takes 3-6 hours and requires basic tools like a drill and level.
- AT&T home security works best for homeowners with strong cellular coverage, existing AT&T service bundling opportunities, and moderate smart home needs, but falls short for rural areas and those needing extensive video storage.
What Is AT&T Home Security and How Does It Work?
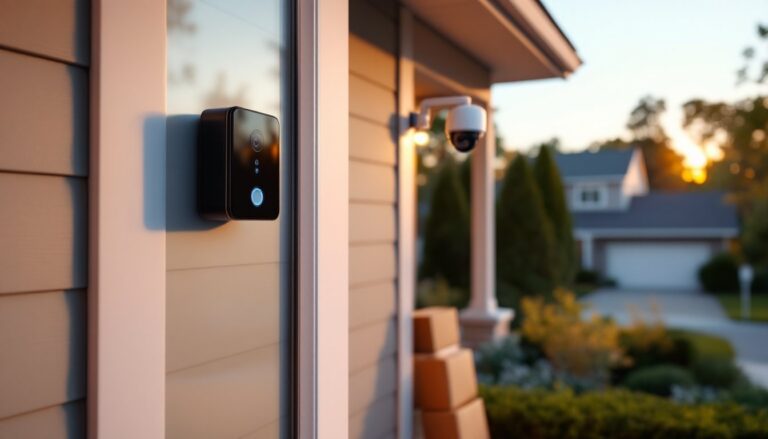
AT&T’s home security service operates through a cellular-based monitoring system that connects sensors, cameras, and a central control panel to a professional monitoring station. Unlike traditional landline-dependent systems, the cellular backbone means line cuts won’t disable your protection, a crucial advantage for serious security.
The core architecture includes a control panel (typically wall-mounted near your main entry), wireless door/window sensors, motion detectors, and optional cameras. When a sensor trips, the signal travels over AT&T’s cellular network to the monitoring center, where operators verify the alert and contact you or dispatch emergency services. Response times average 30-45 seconds from trigger to initial contact, depending on signal strength and plan tier.
You’ll interact with the system through a touchscreen panel, key fobs, or the mobile app. The app lets you arm/disarm remotely, view camera feeds, and receive push notifications when doors open or motion is detected. Unlike some home security systems that rely solely on Wi-Fi, AT&T’s cellular connection provides redundancy if your internet drops, though you’ll still need Wi-Fi for video streaming and advanced features.
Installation requires mounting the control panel within cellular range (usually not an issue in metro areas), placing sensors on entry points, and positioning motion detectors to cover primary pathways. The system runs on a combination of plug-in power for the panel and battery backups that kick in during outages, typically lasting 24 hours on reserve power.
Key Features and Equipment Options
AT&T’s equipment lineup covers the essentials plus some smart-home extras that elevate convenience. Standard packages include:
- Door/window sensors: Magnetic contact sensors (about 1.5″ × 3.5″) that mount with adhesive or screws
- Motion detectors: Passive infrared (PIR) sensors with 30-foot range and pet immunity up to 40 lbs
- Glass break detectors: Acoustic sensors that recognize the frequency of breaking glass within 25 feet
- Indoor/outdoor cameras: 1080p HD resolution with night vision and two-way audio
- Smart locks: Z-Wave compatible deadbolts that integrate with the system’s automation
- Smoke/CO detectors: Monitored sensors that alert the station even when the system is disarmed
Camera options deserve attention. The indoor camera works well for monitoring entryways or keeping an eye on pets, while the outdoor camera includes weatherproof housing (IP65 rating) and motion-activated recording. Video storage requires a subscription tier, typically 30 days of cloud storage for a handful of cameras, though local storage via microSD isn’t supported.
One feature many competitors have adopted involves integrating with smart home technology platforms, allowing broader automation beyond security. AT&T supports this through Z-Wave protocol, which we’ll cover next.
Smart Home Integration and Automation
AT&T’s system uses Z-Wave Plus for smart home integration, giving you compatibility with hundreds of third-party devices. This matters if you want your security system to do more than just sound alarms, like turning on lights when motion is detected or adjusting thermostats based on your armed/disarmed status.
Supported device categories include:
- Smart thermostats (Honeywell, Ecobee)
- Door locks (Yale, Kwikset, Schlage)
- Lighting controls (dimmers, switches, bulbs)
- Garage door controllers
- Water leak sensors
Automation rules (called “scenes”) let you create triggers: “When front door unlocks, turn on entryway lights and disarm system.” You can stack multiple conditions, though the interface isn’t as polished as dedicated hubs like SmartThings. Setup requires pairing devices through the control panel, add the device to pairing mode, then navigate the panel menu to discover it. Most Z-Wave devices pair within 30 seconds if they’re within 50 feet of the panel.
Compatibility with voice assistants is limited. AT&T’s system doesn’t natively support Alexa or Google Assistant for arming/disarming (a security feature some providers intentionally restrict), but you can use voice commands for linked smart devices like locks or lights.
Pricing, Plans, and Installation Costs
AT&T’s pricing structure splits between equipment costs and monthly monitoring fees. As of 2026, expect these ballpark figures, though regional promotions and bundling with AT&T internet/wireless can adjust numbers:
Equipment Packages:
- Starter package (control panel, 3 door sensors, 1 motion detector, key fob): ~$200-$300
- Standard package (adds 1 indoor camera, smoke detector): ~$400-$500
- Premium package (includes outdoor camera, smart lock, additional sensors): ~$600-$800
Individual components run $30-$50 for door/window sensors, $40-$60 for motion detectors, and $100-$200 per camera. Smart locks add $150-$250 depending on brand and finish.
Monthly Monitoring:
- Basic monitoring (24/7 professional monitoring, cellular backup): ~$30-$40/month
- Video monitoring (adds cloud storage for 2-4 cameras): ~$45-$55/month
- Premium tier (unlimited cameras, smart home automation, extended storage): ~$60-$70/month
No long-term contracts are standard, but you’ll typically see 3-year agreements that reduce or eliminate upfront equipment costs. Early termination fees range from $300-$500 depending on remaining contract length.
Compared to competitors, AT&T lands in the middle. Systems like those from Vivint charge more upfront but include more advanced equipment, while DIY options from Ring or SimpliSafe cut costs but skip professional monitoring unless you add it. If you’re bundling with existing AT&T services, discounts of $10-$15/month aren’t uncommon.
Permit requirements vary by jurisdiction. Many municipalities require a burglar alarm permit (typically $25-$75 annually) and may fine you for false alarms after a set number per year. Check with your local police department before installation.
Professional vs. DIY Installation: What to Expect
AT&T offers both professional installation and self-install kits, each with trade-offs.
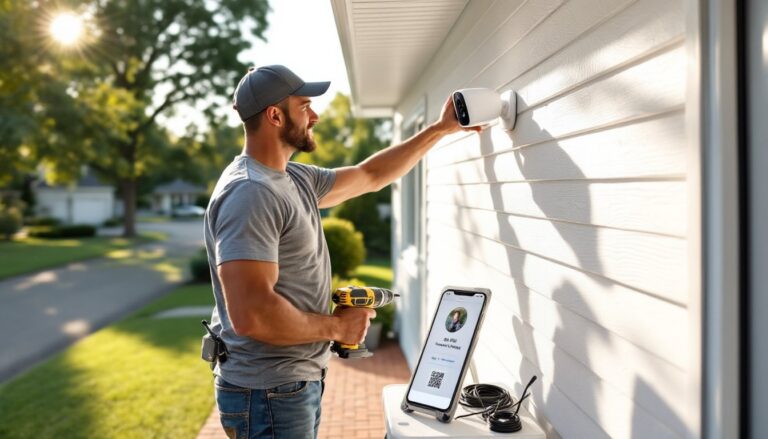
Professional Installation:
A certified tech arrives with equipment, surveys your property, and installs everything in 2-4 hours for a typical home. They’ll:
- Mount the control panel (requires drilling unless you’re using the desk stand)
- Place sensors on doors/windows, testing each for signal strength
- Position motion detectors at optimal angles (corners work best for coverage)
- Run camera cables if using wired models, or mount wireless units
- Program the system and walk you through operation
Professional install costs $100-$200 unless waived with a contract. The benefit: proper sensor placement matters more than most homeowners realize. A motion detector aimed at a window with direct sunlight will false-alarm constantly: a tech knows to avoid that.
DIY Installation:
Self-install kits ship with pre-paired equipment and a setup wizard on the control panel. The process involves:
- Mounting the panel (use wall anchors for drywall: toggle bolts for hollow walls)
- Sticking sensors on door/window frames with 3M adhesive backing (clean surfaces with alcohol first)
- Testing each sensor by opening doors/windows while the panel is in test mode
- Mounting cameras and connecting them to your Wi-Fi network
- Configuring automation rules and user codes
Expect 3-6 hours for a basic setup if you’re handy. You’ll need a drill (for panel mounting), a level (so your cameras aren’t crooked), and a stepladder. The system walks you through pairing, but troubleshooting weak cellular signal or Wi-Fi dead zones is on you.
One gotcha: outdoor camera installation. Routing cables through exterior walls requires drilling a 3/4″ hole and sealing it with silicone caulk to prevent water intrusion. Wireless models simplify this but need outlets nearby or solar panel add-ons.
Regardless of installation method, you’ll need to test the system with the monitoring station before it goes live, usually a 5-minute call to verify sensors trigger properly.
Pros and Cons for Homeowners
Advantages:
- Cellular backup: System stays online even if internet or landline fails
- Z-Wave compatibility: Broad smart home integration without proprietary lock-in
- Professional monitoring: 24/7 station response adds a safety layer DIY monitoring can’t match
- Scalability: Start small and add sensors/cameras as budget allows
- App interface: Clean design with intuitive controls for most features
The cellular connection stands out in best home security systems comparisons, especially for homes in areas with frequent power outages or unreliable internet.
Drawbacks:
- Monthly costs add up: Even basic monitoring runs $360+/year indefinitely
- Limited voice control: No native Alexa/Google Assistant integration for core security functions
- Video storage caps: Cloud storage limits can fill quickly with active cameras
- Equipment ownership: Depending on contract terms, you may not own hardware until paid off
- Signal dependency: Weak cellular coverage in rural areas can cause lag or missed alerts
Another consideration: AT&T’s ecosystem isn’t as polished as dedicated smart home platforms. If you’re already deep into Apple HomeKit or Google Home, you’ll find the experience somewhat disjointed.
Comparing to alternatives, AT&T sits between DIY systems (more effort, less monitoring) and premium providers like ADT (higher cost, more integrated services). Testing by independent reviewers in 2026 rankings places AT&T in the middle tier for reliability and feature set, solid but not class-leading.
Is AT&T Home Security Right for Your Home?
AT&T’s system makes the most sense for homeowners who:
- Already use AT&T services and can bundle for discounts
- Want professional monitoring without premium-tier pricing
- Live in areas with strong AT&T cellular coverage
- Need moderate smart home integration without diving into complex hubs
- Prefer a middle path between DIY and fully managed systems
It’s less ideal if you:
- Want cutting-edge smart home features (consider Brinks or similar)
- Live in rural areas with spotty cellular service
- Prefer equipment ownership without contracts
- Need extensive video storage for multiple cameras
Before committing, verify cellular signal strength at your property, AT&T will usually test this during a pre-install survey. Also compare total 3-year costs (equipment + monitoring) against competitors, factoring in any promotions. Systems reviewed by experts at Good Housekeeping highlight that long-term value often trumps low upfront costs.
One final note: if you’re in a multifamily building, check HOA rules about exterior camera placement and whether cellular signal penetrates concrete/steel construction adequately. Some older buildings act as Faraday cages, degrading wireless performance.